No edit summary Tag: Source edit |
|||
| (23 intermediate revisions by 7 users not shown) | |||
| Line 1: | Line 1: | ||
| + | {{ZX-stub}} |
||
| − | [[File:ZXALOilField.png|150px|right|Oil Field]] |
||
| + | {{StageinfoX |
||
| ⚫ | |||
| + | |title1 = Oil Field |
||
| + | |image1 = ZXA OilField1.png |
||
| + | |boss = [[Atlas]] |
||
| + | |powerups = [[BM Upgrade]] |
||
| + | |music = "Flashover" |
||
| + | }} |
||
| + | The {{Nihongo|'''Oil Field'''|ゆでん|Yuden}} is an area in ''[[Mega Man ZX Advent]]''. It is an ancient dried sea that now is used as an underground resource mining facility. When a [[Raider]] airship crashes here, [[Atlas]] threatens to sacrifice them to [[Model W]]. |
||
| ⚫ | |||
| − | *'''[[Boss]]:''' [[Atlas]] (Model F) |
||
| − | *'''Sub-boss:''' [[Desert Aspis]] |
||
| − | *[[Bomb Flower]] |
||
| ⚫ | |||
| ⚫ | |||
| ⚫ | |||
| ⚫ | |||
| ⚫ | |||
| ⚫ | |||
| ⚫ | |||
| ⚫ | |||
| + | == History == |
||
| ⚫ | |||
| + | In [[Raider Pursuit]], the [[Hunter's Guild|Hunters]] stole [[Biometal]] [[Model A]] from the [[Raider]] airship. When [[Prometheus]] attacked, the Raider airship crashed in the Oil Field, and the entrance to the area was sealed with safety locks. |
||
| + | |||
| ⚫ | Later, [[Ashe]]/[[Grey]] received a request from [[Legion]] to take parts from the airship to repair the broken [[Train (Mega Man ZX Advent)|Train]] and transport Model A to [[Legion HQ]]. When the player unlocks the entrance, a Raider named Dan asks for help, stating that the Raider airship ruins are under attack. [[Master Thomas]] warns that if the airship explodes, it will trigger the entire area to detonate. |
||
| + | |||
| + | Ashe/Grey fights through until they reach [[Atlas]], who threatens to detonate the airship and cause mass destruction to feed [[Model W]]. Ashe/Grey defeats her, and they find Wolff and the Raiders barricaded in a room. After breaking through, Wolff realizes they are not enemies and give them parts from their airship to repair the Train. |
||
| + | |||
| ⚫ | |||
| ⚫ | |||
|- |
|- |
||
! scope="col"|Image |
! scope="col"|Image |
||
! scope="col"|Enemy |
! scope="col"|Enemy |
||
|- |
|- |
||
| − | |[[File: |
+ | |[[File:ZXA Atlas Megamerge.gif|left]] |
|[[Atlas|Atlas (Model F)]]<br />(boss) |
|[[Atlas|Atlas (Model F)]]<br />(boss) |
||
|- |
|- |
||
| − | |[[File:ZXADesertAspis.png|thumb| |
+ | |[[File:ZXADesertAspis.png|thumb|center]] |
| ⚫ | |||
| − | | |
+ | |- |
| ⚫ | |||
| + | |[[File:ZXA HopCannon sprite.png|center]] |
||
| ⚫ | |||
| ⚫ | |||
| + | |[[File:Fire dart sprite.gif|center]] |
||
| ⚫ | |||
| ⚫ | |||
| + | |[[File:ZXAPoyoko.png|center]] |
||
| ⚫ | |||
| ⚫ | |||
| + | |[[File:GalleonAssault.gif|center]] |
||
| ⚫ | |||
| ⚫ | |||
| + | |[[File:GalleonRider.gif|center]] |
||
| ⚫ | |||
| ⚫ | |||
| + | |[[File:ZXAVitaful.png|center]] |
||
| + | |[[Vitaful]] |
||
| + | |- |
||
| + | |[[File:Cannonwalker.gif|center]] |
||
| ⚫ | |||
| + | |- |
||
| + | |[[File:ZXA Circloon sprite.png|center]] |
||
| ⚫ | |||
| + | |- |
||
| + | |[[File:ZXA NatureMine sprite.png|center]] |
||
| + | |[[Nature Mine]] |
||
| + | |- |
||
| + | |[[File:GalleonHunter.gif|center]] |
||
| ⚫ | |||
| + | |- |
||
| + | |[[File:GalleonBazooka.gif|center]] |
||
| ⚫ | |||
| + | |- |
||
| + | |[[File:GalleonSpider.gif|center]] |
||
| + | |[[Galleon Spider]] |
||
| + | |- |
||
| + | |[[File:ZXAChabano.png|center]] |
||
| ⚫ | |||
| + | |- |
||
| + | |[[File:ZXA GreenChabano sprite.png|center]] |
||
| + | |[[Chabano]] ("Eliminate 50 Chabanos" quest) |
||
| + | |} |
||
| + | ==''Mega Man X DiVE''== |
||
| − | (sub-boss) |
||
| + | Oil Field appeared as a stage in ''[[Mega Man X DiVE]]''. It is the eleventh Story stage, and ends in a final boss fight with [[Byte]]. |
||
| + | ===Enemies=== |
||
| + | <tabber> |
||
| + | |-|Story= |
||
| + | {| class="article-table" |
||
|- |
|- |
||
| + | ! scope="col"|Image |
||
| ⚫ | |||
| + | ! scope="col"|Enemy |
||
| − | |Bomb Flower |
||
|- |
|- |
||
| − | |[[File: |
+ | |[[File:Mega Man X DiVE Boss Byte.png|120x120px|center]] |
| + | |[[Byte]] (boss) (11-6) |
||
| ⚫ | |||
|- |
|- |
||
| − | |[[File: |
+ | |[[File:Mega Man X DiVE Boss Shurikein.png|120x120px|center]] |
| + | |[[Shurikein]] (sub-boss) (11-3) |
||
| − | |Poyoko |
||
|- |
|- |
||
| + | |[[File:Rockman X DiVE-Mettaur (CM).png|70x70px|center]] |
||
| ⚫ | |||
| + | |[[Met (X series)#Mettaur|Mettaur]] (11-1, 11-2, 11-3, 11-4, 11-5) |
||
| − | |Fire Dart |
||
|- |
|- |
||
| + | |[[File:Rockman X DiVE-Spike Marl.png|70x70px|center]] |
||
| ⚫ | |||
| + | |[[Spike Marl]] (11-1. 11-2, 11-4) |
||
| ⚫ | |||
|- |
|- |
||
| + | |[[File:Rockman X DiVE-Gun Volt.png|70x70px|center]] |
||
| ⚫ | |||
| + | |[[Gun Volt]] (11-1, 11-2, 11-3) |
||
| ⚫ | |||
|- |
|- |
||
| + | |[[File:Rockman X DiVE-Golem.png|70x70px|center]] |
||
| ⚫ | |||
| + | |[[Golem (Ride Armor)|Golem]] (11-1, 11-2, 11-3, 11-4) |
||
| − | |Cannonwalker |
||
| + | |- |
||
| + | |[[File:Rockman X DiVE-Crash Roader.png|70x70px|center]] |
||
| + | |[[Crash Roader]] (11-1, 11-2, 11-3, 11-5) |
||
| + | |- |
||
| + | |[[File:Rockman X DiVE-Mettaurcure.png|70x70px|center]] |
||
| + | |[[Mettaurcure]] (11-2, 11-4, 11-5) |
||
| + | |- |
||
| + | |[[File:Rockman X DiVE Mad Joey.png|70x70px|center]] |
||
| + | |[[Mad Joey]] (11-4, 11-5) |
||
| + | |- |
||
| + | |[[File:Rockman X DiVE Cannon Driver.png|70x70px|center]] |
||
| + | |[[Cannon Driver]] (11-4, 11-5) |
||
|} |
|} |
||
| + | |-|Messiah event= |
||
| + | {| class="article-table" |
||
| + | |- |
||
| + | ! scope="col"|Image |
||
| + | ! scope="col"|Enemy |
||
| + | |- |
||
| + | |[[File:Mega Man X DiVE Omega.png|120x120px|center]] |
||
| + | |[[Omega]] (boss) |
||
| + | |- |
||
| + | |[[File:Rockman X DiVE-Mettaur (CM).png|70x70px|center]] |
||
| + | |[[Met (X series)#Mettaur|Mettaur]] |
||
| + | |- |
||
| + | |[[File:Rockman X DiVE-Golem.png|70x70px|center]] |
||
| + | |[[Golem (Ride Armor)|Golem]] |
||
| + | |- |
||
| + | |[[File:Rockman X DiVE Spiky (X1).png|70x70px|center]] |
||
| + | |[[Spiky]] |
||
| + | |- |
||
| + | |[[File:Rockman X DiVE Guardroid.png|70x70px|center]] |
||
| + | |[[Guardroid]] |
||
| + | |- |
||
| + | |[[File:Rockman X DiVE Cannon Driver.png|70x70px|center]] |
||
| + | |[[Cannon Driver]] |
||
| + | |- |
||
| + | |[[File:Rockman X DiVE-Death Guardian.png|70x70px|center]] |
||
| + | |[[Death Guardian]] |
||
| + | |- |
||
| + | |[[File:Rockman X DiVE Mega Tortoise.png|70x70px|center]] |
||
| + | |[[Mega Tortoise]] |
||
| + | |- |
||
| + | |[[File:Rockman X DiVE- Float Gunner.png|70x70px|center]] |
||
| + | |[[Hover Gunner]] |
||
| + | |- |
||
| + | |[[File:Rockman X DiVE Turn Cannon.png|70x70px|center]] |
||
| ⚫ | |||
| + | |- |
||
| + | |[[File:Rockman X DiVE Mad Joey Red.png|70x70px|center]] |
||
| + | |[[Mad Joey]] |
||
| + | |} |
||
| + | |-|Pandora the Witch event= |
||
| + | {| class="article-table" |
||
| + | |- |
||
| + | ! scope="col"|Image |
||
| + | ! scope="col"|Enemy |
||
| + | |- |
||
| + | |[[File:Mega Man X DiVE Hunter Program Pandora.png|120x120px|center]] |
||
| + | |[[Pandora]] (boss) |
||
| + | |- |
||
| + | |[[File:Rockman X DiVE Cannon Driver.png|70x70px|center]] |
||
| + | |[[Cannon Driver]] |
||
| + | |- |
||
| + | |[[File:Rockman X DiVE-Fly Gunner Blue.png|70x70px|center]] |
||
| + | |[[Hover Gunner]] |
||
| + | |- |
||
| + | |[[File:Rockman X DiVE-Golem.png|70x70px|center]] |
||
| + | |[[Golem (Ride Armor)|Golem]] |
||
| + | |- |
||
| + | |[[File:Rockman X DiVE Mad Joey Red.png|70x70px|center]] |
||
| + | |[[Mad Joey]] |
||
| + | |- |
||
| + | |[[File:Rockman X DiVE Guardroid.png|70x70px|center]] |
||
| + | |[[Guardroid]] |
||
| + | |- |
||
| + | |[[File:Rockman X DiVE Spiky (X8).png|70x70px|center]] |
||
| + | |[[Spiky]] |
||
| + | |- |
||
| + | |[[File:Mega Man X DiVE Wild Dog.png|70x70px|center]] |
||
| + | |[[Wolfloid]] |
||
| + | |} |
||
| + | </tabber> |
||
| + | |||
| + | ===Removed from Offline version=== |
||
| + | <tabber> |
||
| + | |-|Co-op= |
||
| + | {| class="article-table" |
||
| + | |- |
||
| + | ! scope="col"|Image |
||
| + | ! scope="col"|Enemy |
||
| + | |- |
||
| + | |[[File:Mega Man X DiVE Boss Overdrive Ostrich.png|120x120px|center]] |
||
| + | |[[Overdrive Ostrich]] (boss) (6-2) |
||
| + | |- |
||
| + | |[[File:Rockman X DiVE-Golem.png|70x70px|center]] |
||
| + | |[[Golem (Ride Armor)|Golem]] |
||
| + | |- |
||
| + | |[[File:Rockman X DiVE Spiky (X1).png|70x70px|center]] |
||
| + | |[[Spiky]] |
||
| + | |- |
||
| + | |[[File:Rockman X DiVE-Bigbit.png|70x70px|center]] |
||
| + | |[[Bigbit]] |
||
| + | |- |
||
| + | |[[File:Rockman X DiVE Mad Joey.png|70x70px|center]] |
||
| + | |[[Mad Joey]] |
||
| + | |- |
||
| + | |[[File:Rockman X DiVE Guardroid.png|70x70px|center]] |
||
| + | |[[Guardroid]] |
||
| + | |- |
||
| + | |[[File:Rockman X DiVE-Crash Roader.png|70x70px|center]] |
||
| + | |[[Crash Roader]] |
||
| + | |- |
||
| + | |[[File:Rockman X DiVE-Degraver.png|70x70px|center]] |
||
| + | |[[Dig Labour]] |
||
| + | |- |
||
| + | |[[File:Rockman X DiVE-Mettaur (CM).png|70x70px|center]] |
||
| + | |[[Met (X series)#Mettaur|Mettaur]] |
||
| + | |} |
||
| + | |-|Total Power Battle: Round 3 event= |
||
| + | {| class="article-table" |
||
| + | |- |
||
| + | ! scope="col"|Image |
||
| + | ! scope="col"|Enemy |
||
| + | |- |
||
| + | |[[File:Mega Man X DiVE Boss Toxic Seahorse EX.png|120x120px|center]] |
||
| + | |[[Toxic Seahorse|Toxic Seahorse EX]] (boss) |
||
| + | |} |
||
| + | </tabber> |
||
| + | |||
| + | ==Gallery== |
||
| + | <gallery> |
||
| + | ZXALOilField.png|Stage preview. |
||
| + | Desert Aspis.png|The battle with Desert Aspis. |
||
| + | XDiVE OilField.png|Oil Field in ''Mega Man X DiVE''. |
||
| + | </gallery> |
||
==Trivia== |
==Trivia== |
||
| − | *As the Oil Field used to be a sea and the remains of a [[Utuboros]] can be found in a side-quest, it is assumed that in the past it was [[Launch Octopus]]' stage. |
+ | *As the Oil Field used to be a sea and the remains of a [[Utuboros]] can be found in a side-quest, it is assumed that in the past it was [[Launch Octopus]]' [[Ocean Stage|stage]]. |
| − | {{ |
+ | {{-}} |
| + | {{ZXA}} |
||
| ⚫ | |||
| + | {{DiVE}} |
||
| ⚫ | |||
| + | [[Category:Mega Man X DiVE stages]] |
||
Latest revision as of 20:27, 30 September 2023
| This article is a stub from the ZX series. You can help by expanding it, adding pictures, and improving existing text. |
The Oil Field (ゆでん Yuden) is an area in Mega Man ZX Advent. It is an ancient dried sea that now is used as an underground resource mining facility. When a Raider airship crashes here, Atlas threatens to sacrifice them to Model W.
History
In Raider Pursuit, the Hunters stole Biometal Model A from the Raider airship. When Prometheus attacked, the Raider airship crashed in the Oil Field, and the entrance to the area was sealed with safety locks.
Later, Ashe/Grey received a request from Legion to take parts from the airship to repair the broken Train and transport Model A to Legion HQ. When the player unlocks the entrance, a Raider named Dan asks for help, stating that the Raider airship ruins are under attack. Master Thomas warns that if the airship explodes, it will trigger the entire area to detonate.
Ashe/Grey fights through until they reach Atlas, who threatens to detonate the airship and cause mass destruction to feed Model W. Ashe/Grey defeats her, and they find Wolff and the Raiders barricaded in a room. After breaking through, Wolff realizes they are not enemies and give them parts from their airship to repair the Train.
Enemies
| Image | Enemy |
|---|---|
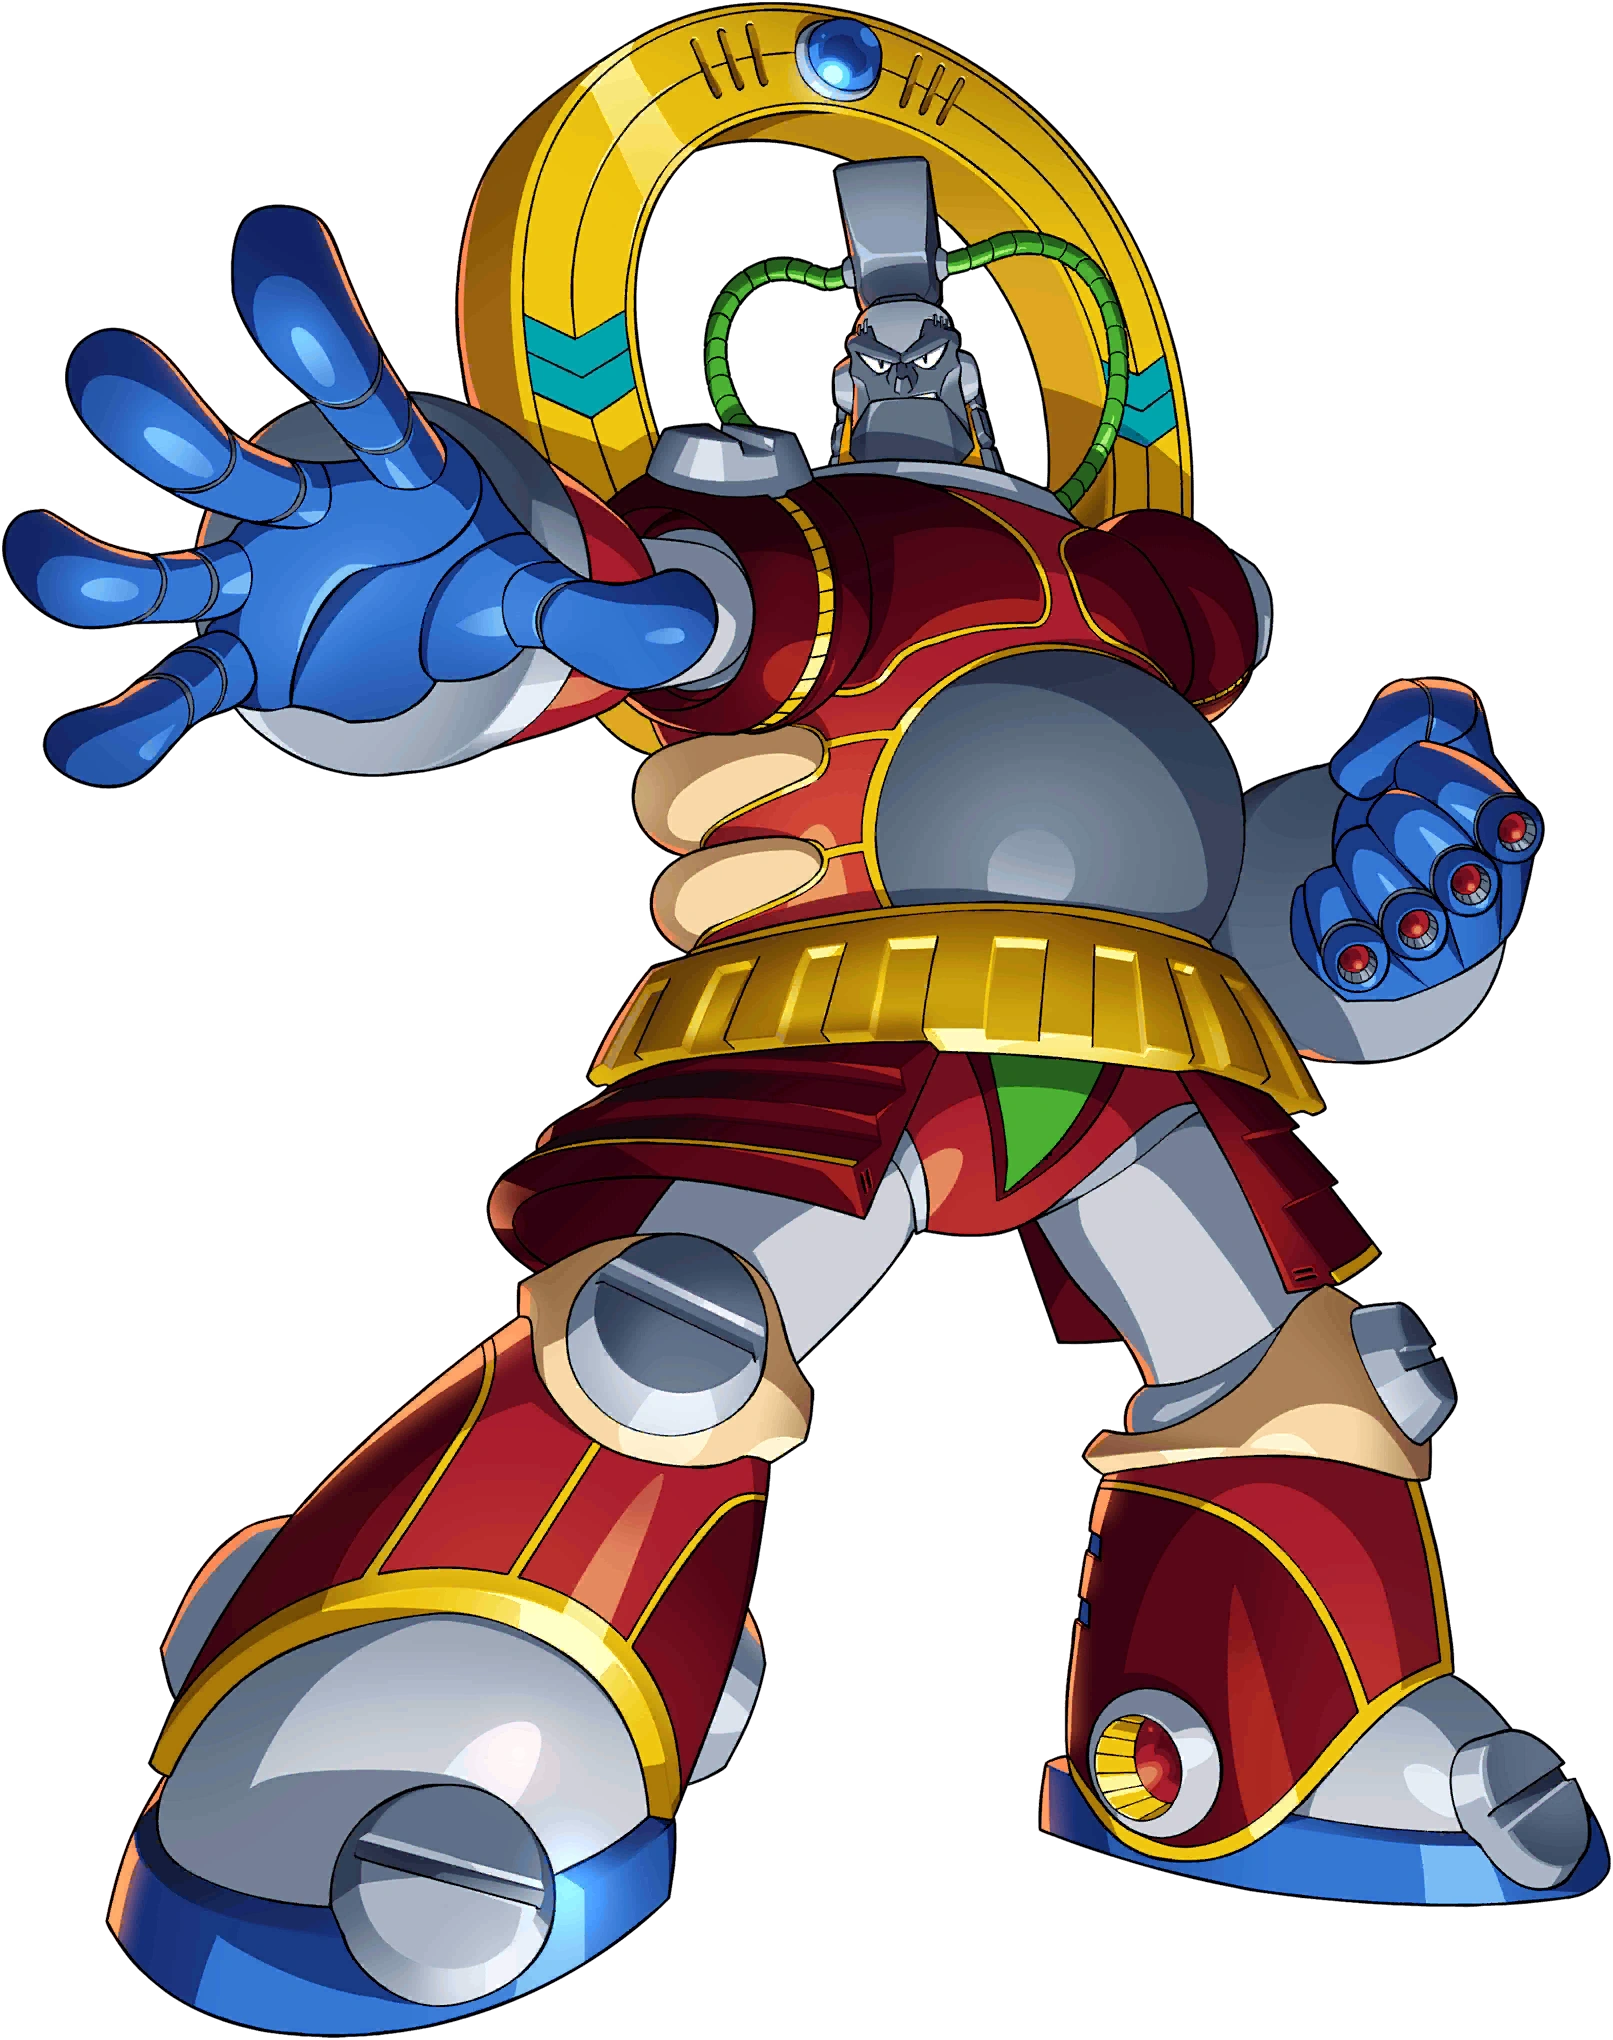
 |
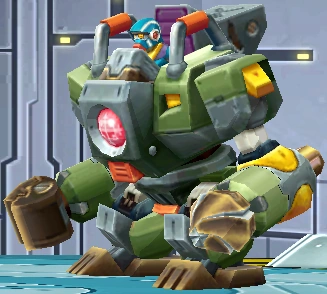
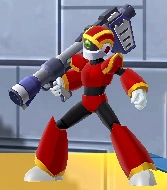
Atlas (Model F) (boss) |
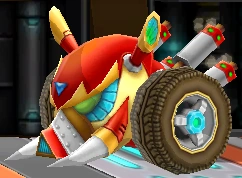
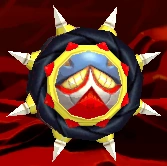
| Desert Aspis (sub-boss) | |
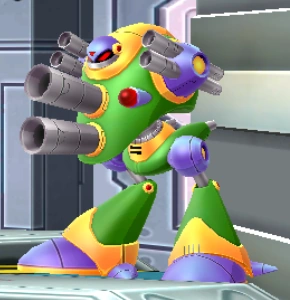
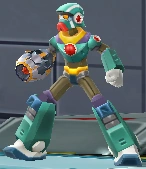
| Hop Cannon | |
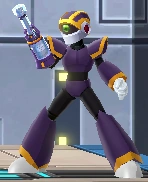
| Fire Dart | |
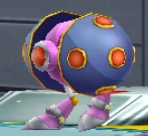
| Poyoko | |
| Galleon Assault | |
| Galleon Rider | |
| Vitaful | |
 |
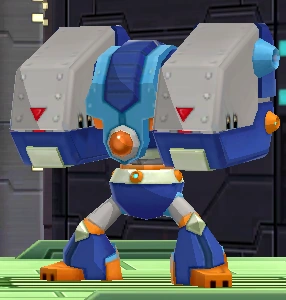
Cannonwalker |
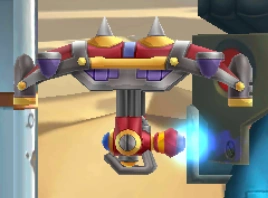
| Circloon | |
| Nature Mine | |
| Galleon Hunter | |
| Galleon Bazooka | |
| Galleon Spider | |
| Chabano | |
| Chabano ("Eliminate 50 Chabanos" quest) |

Mega Man X DiVE
Oil Field appeared as a stage in Mega Man X DiVE. It is the eleventh Story stage, and ends in a final boss fight with Byte.
Enemies
| Image | Enemy |
|---|---|
 |
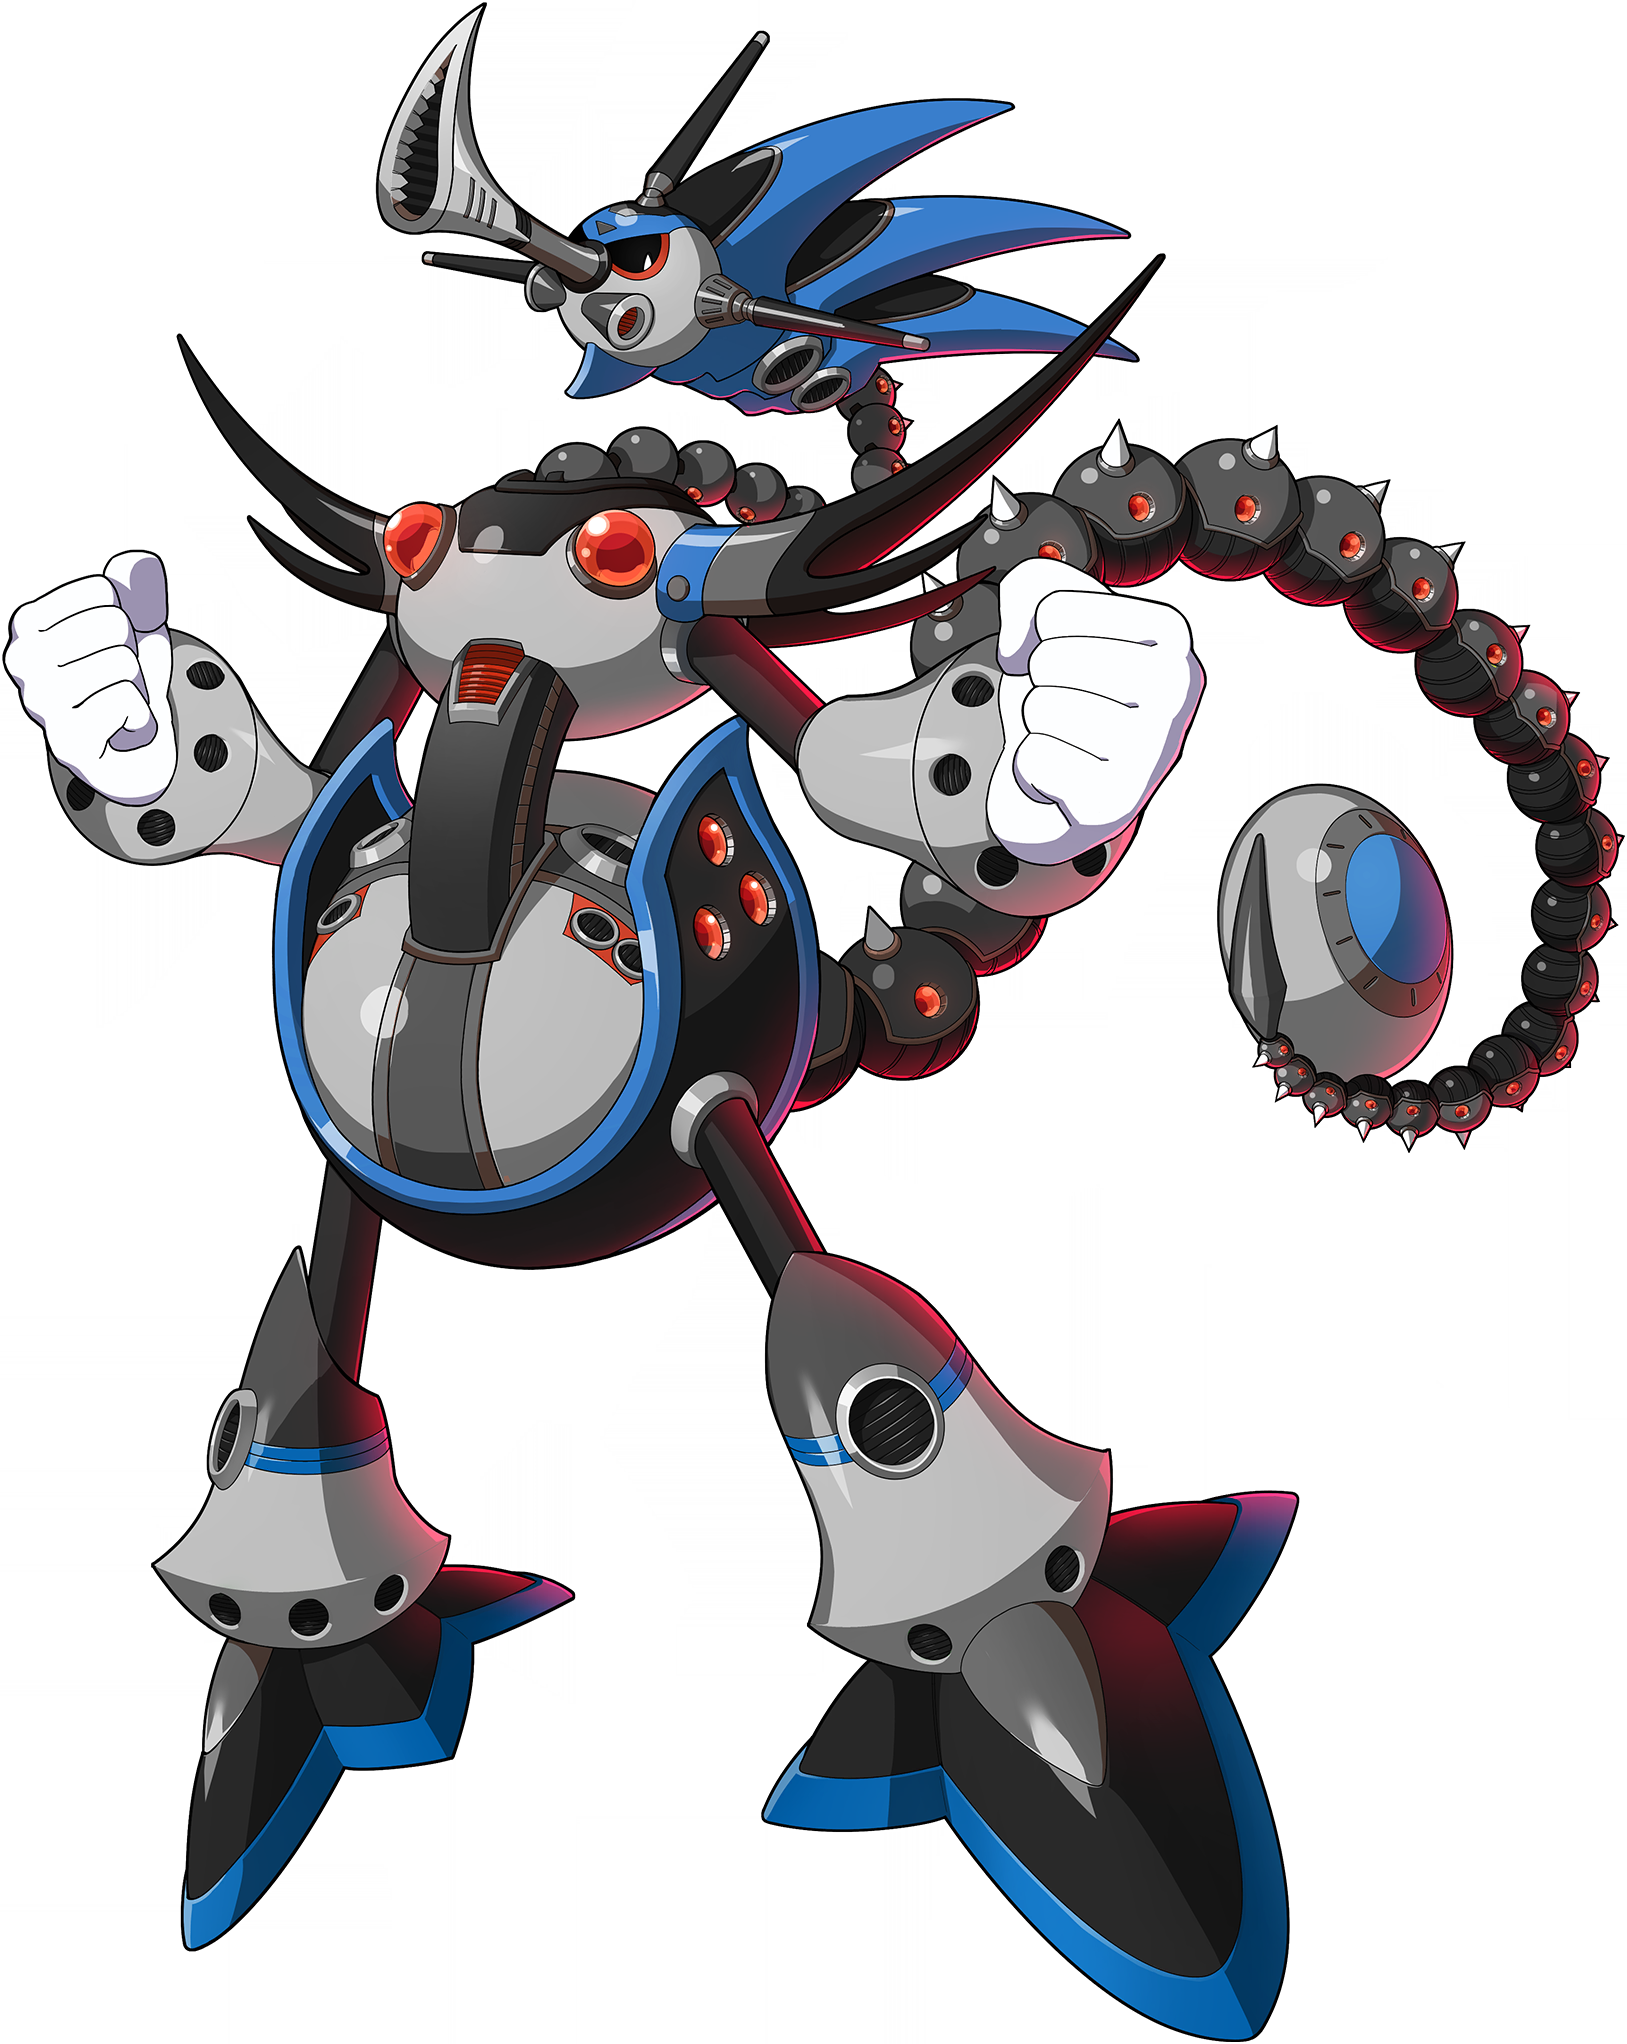
Byte (boss) (11-6) |
 |
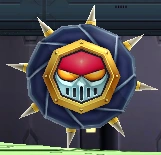
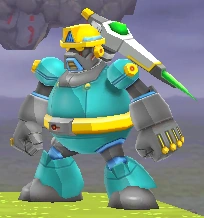
Shurikein (sub-boss) (11-3) |
 |
Mettaur (11-1, 11-2, 11-3, 11-4, 11-5) |
 |
Spike Marl (11-1. 11-2, 11-4) |
 |
Gun Volt (11-1, 11-2, 11-3) |
 |
Golem (11-1, 11-2, 11-3, 11-4) |
 |
Crash Roader (11-1, 11-2, 11-3, 11-5) |
 |
Mettaurcure (11-2, 11-4, 11-5) |
 |
Mad Joey (11-4, 11-5) |
 |
Cannon Driver (11-4, 11-5) |
| Image | Enemy |
|---|---|
 |
Omega (boss) |
|
Mettaur |
|
Golem |
 |
Spiky |
 |
Guardroid |
|
Cannon Driver |
 |
Death Guardian |
| Mega Tortoise | |
| Hover Gunner | |
 |
Turn Cannon |
 |
Mad Joey |
| Image | Enemy |
|---|---|
 |
Pandora (boss) |
|
Cannon Driver |
| Hover Gunner | |
|
Golem |
|
Mad Joey |
|
Guardroid |
 |
Spiky |
| Wolfloid |
Removed from Offline version
| Image | Enemy |
|---|---|
 |
Overdrive Ostrich (boss) (6-2) |
|
Golem |
|
Spiky |
| Bigbit | |
|
Mad Joey |
|
Guardroid |
|
Crash Roader |
 |
Dig Labour |
|
Mettaur |
| Image | Enemy |
|---|---|
 |
Toxic Seahorse EX (boss) |
Gallery
")
")
")
Trivia
- As the Oil Field used to be a sea and the remains of a Utuboros can be found in a side-quest, it is assumed that in the past it was Launch Octopus' stage.
| Mega Man ZX Advent | |
|---|---|
| Main characters | |
| Grey • Ashe • Model A | |
| Pseudoroids | |
| Buckfire the Gaxelleroid • Chronoforce the Xiphosuroid • Rospark the Floroid • Vulturon the Condoroid Queenbee the Hymenopteroid • Bifrost the Crocoroid • Hedgeshock the Erinaceroid • Argoyle & Ugoyle the Shisaroids | |
| Other bosses | |
| Dogu the Giant • Atlas • Siarnaq • Aeolus • Thetis Vent/Aile • Prometheus & Pandora • Master Albert | |
| Areas | |
| Raider Pursuit • Hunter's Camp • Train • Arctic Ice Floe • Tower of Verdure • Oil Field • Legion HQ Highway • Floating Ruins • Scrapyard • Control Center • Quarry • Bio Lab • Mysterious Lab • Waterfall Ruins • Undersea Volcano • Ouroboros | |
| Miscellaneous | |
| Database • Items • Game Script (Grey's story • Ashe's story) | |